



Bring dramatic gothic elegance and festive charm to your Halloween home decor with this lacy spiderweb table topper! Featuring an intricate spiral center that expands into 12 radiating web spokes and delicate scalloped chain arches, this lightweight centerpiece drapes beautifully across entry tables, dining consoles, or sideboards. Whether you are hosting a spooky dinner party or styling an autumn candle display, this pattern is designed for enjoyable, satisfying crocheting from the first swirl to the final picot peak.
Quick Facts
- Skill level: Intermediate
- Finished size: About 16 inches (41 cm) diameter from peak to peak after blocking
- Yarn: Fine / Sport Weight Cotton Yarn (#2) or Crochet Thread Size 3 in Jet Black
- Hook: 3.0 mm (US C/2) crochet hook
- Stitches used: Chain, Slip Stitch, Single Crochet, Treble Crochet, Picot
- Time to make: 4 to 6 hours
💡 Designer Tip: Size customization tips are included further down to help you scale this pattern up or down for coffee tables or full dining spreads.
What Makes This Lacy Spiderweb Table Topper Special
This table topper combines classic lace techniques with striking gothic styling. The design begins with a continuous back-loop spiral center that creates a swirling focal point, mimicking a real spider’s central hub.
As you work outward, twelve structural treble-crochet spokes radiate from the core, anchored by expanding chain-space arches that sag gracefully between points. This produces the iconic geometry of a natural cobweb. Finishing with crisp picot peaks along the outer edge gives the piece structure when wet-blocked, ensuring your topper lies completely flat on any surface.
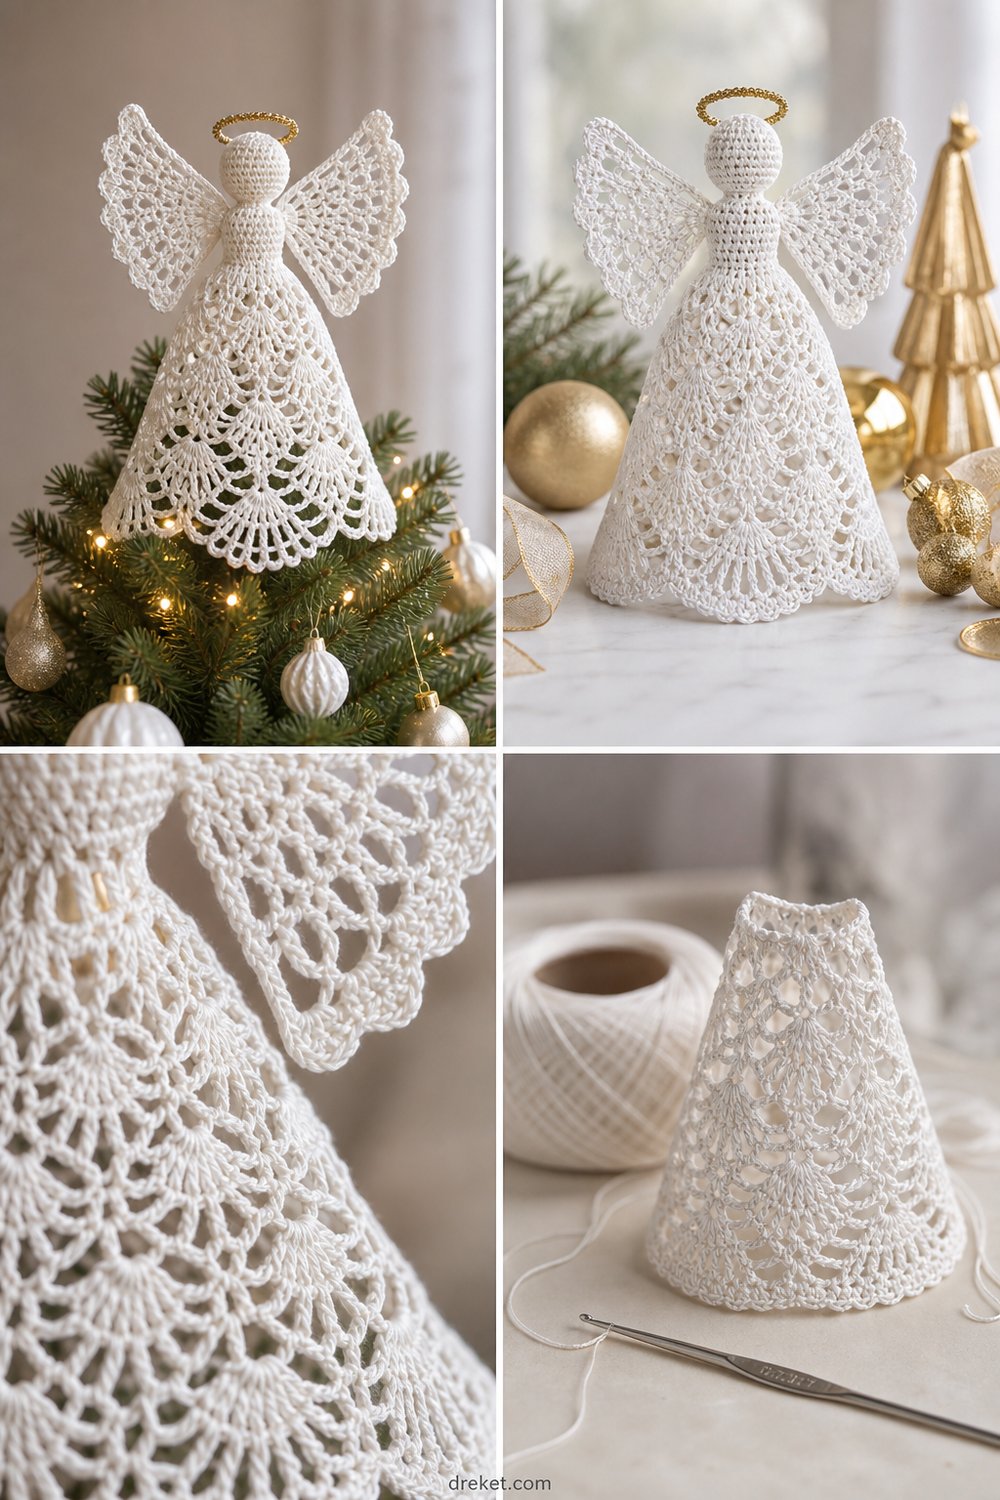
If you love spooky seasonal crafting like our Spooky Granny Square Halloween Bunting Free Crochet Pattern or cute quick accents like the Tiny Witch Hat Halloween Decor Free Crochet Pattern, this spiderweb doily is the ultimate centerpiece project. Lace decor adds high-impact drama to your home without heavy yarn weight—much like our popular Elegant Lace Christmas Angel Tree Topper Free Beginner Pattern! When you’re done decorating for autumn, you can easily transition your skills to holiday gifting with projects like 15 Cute Christmas Crochet Coin Purses | Easy Stocking Stuffer Gift Ideas or motif blankets using the Christmas Poinsettia Granny Square Pattern | Easy Crochet Chart Tutorial.
Skill Level
This project is rated Intermediate. You should be comfortable with:
– Working in continuous spiral rounds
– Working in back loops only (BLO)
– Working tall stitches (treble crochet)
– Working chains and slip stitch picots
– Blocking lace projects with stainless steel pins
Do not worry if you have never blocked lace before! Wet blocking instructions are provided step-by-step in the finishing section to guarantee crisp spiderweb points.
Finished Measurements
| Measurement | Inches | Centimeters |
|---|---|---|
| Diameter (Peak to Peak) | 16.0 in | 41.0 cm |
| Center Spiral Diameter | 3.25 in | 8.2 cm |
| Spoke Length (from center to tip) | 8.0 in | 20.5 cm |
Materials You Will Need
| Color | Yarn / Material | Yards | Meters |
|---|---|---|---|
| Jet Black | Fine yarn weight (#2) / Sport / 5-ply Cotton | 210 yds | 192 m |
Notions & Tools:
– Hook: 3.0 mm (US C/2) aluminum or ergonomic crochet hook
– Tapestry Needle: Size 18 steel yarn needle for weaving ends
– Scissors: Sharp craft scissors
– Blocking Supplies: Blocking mats, stainless steel rust-proof T-pins, spray bottle with cold water or liquid stiffening spray
Yarn Suggestions
| Brand & Yarn Line | Weight Class | Skein Yardage | Notes |
|---|---|---|---|
| Aunt Lydia’s Fashion Crochet Thread Size 3 | #2 Fine / Thread | 150 yds / 50g | 100% Mercerized Cotton; high sheen and crisp stitch definition. |
| Scheepjes Catona | #2 Fine / Sport | 138 yds / 50g | 100% Mercerized Cotton; smooth texture, highly durable. |
| Rainbow Cotton 8/4 by Hobbii | #2 Fine / Fingering | 186 yds / 50g | Soft natural matte cotton with wide color options. |
⚠️ Note: Avoid using acrylic yarns or fuzzy animal fibers for this lace project. Acrylic will not hold pinned spiderweb points firmly after blocking, and fuzzy fibers obscure the crisp spiderweb lattice. Stick to 100% mercerized cotton yarn or size 3 crochet thread for best results.
Gauge
- Lace Web Mesh: Each tr round (Rnds 6 to 15) adds about 1/2 in (1.3 cm) to the radius, so the web grows about 1 in (2.5 cm) across per round.
- Center Circle: Rounds 1 to 5 of the center spiral measure 3.25 in (8.2 cm) across.
Abbreviations
| Abbreviation | Full Name (US Terminology) |
|---|---|
| ch / ch-sp | Chain / Chain space |
| sl st | Slip stitch |
| sc | Single crochet |
| tr | Treble crochet |
| BLO | Back loop only |
| st / sts | Stitch / Stitches |
| sk | Skip |
| rnd / rnds | Round / Rounds |
| rep | Repeat |
UK Conversion Note: sc = dc (double crochet), hdc = htr (half treble), dc = tr (treble crochet), tr = dtr (double treble).
Special Stitches Explained
1. Back Loop Only (BLO) Single Crochet
Insert your hook under only the back loop (the loop furthest away from you) of the designated stitch. Yarn over, pull up a loop, yarn over, and pull through both loops on hook. This leaves the front loop exposed to create a textured spiral ridge.
2. Treble Crochet (tr)
Yarn over twice, insert hook into the indicated stitch or space, yarn over and pull up a loop (4 loops on hook). [Yarn over, pull through 2 loops] 3 times.
3. Side Web Picot (ch 3 picot)
Chain 3, then insert hook into the front loop and bottom vertical bar of the preceding single crochet stitch. Slip stitch to close.
4. Peak Point Picot (ch 4 picot)
Chain 4, then insert hook into the front loop and bottom vertical bar of the preceding single crochet stitch. Slip stitch to close.
Pattern Instructions
Notes before starting:
- Rounds 1 through 5 are worked in a continuous spiral without joining. Do not turn at the end of rounds. Place a stitch marker in the first stitch of Round 1 and move it up each round.
- Starting Round 6, rounds are joined with a slip stitch to the top of the starting chain.
- Chain 4 at the beginning of a round counts as 1 treble crochet stitch (tr).
Section 1: Center Spiral Base
- Rnd 1: Begin with a magic ring. Work 6 sc into the ring. Do not join. (6 sc)
- Rnd 2: Working in BLO, work 2 sc in each st around. (12 sc)
- Rnd 3: Working in BLO, 1 sc in next st, 2 sc in next st rep 6 times around. (18 sc)
- Rnd 4: Working in BLO, 1 sc in next 2 sts, 2 sc in next st rep 6 times around. (24 sc)
- Rnd 5: Working in BLO, 1 sc in next st, 2 sc in next st rep 12 times around. (36 sc)
✅ Checkpoint: Measure your spiral. Rounds 1 to 5 should measure approximately 3.25 in (8.2 cm) across with clear concentric ridges visible from the leftover front loops.
Section 2: Radiating Spiderweb Lattice
- Rnd 6: Sl st into next st to level off. Ch 4 (counts as tr), ch 3, sk 2 sts, tr in next st, ch 3, sk 2 sts rep 11 times around, sl st to 4th ch of starting ch-4. (24 sts: 12 tr, 12 ch-3 sps)
- Rnd 7: Ch 4 (counts as tr), ch 5, tr in next tr, ch 5 rep 11 times around, sl st to 4th ch of starting ch-4. (24 sts: 12 tr, 12 ch-5 sps)
- Rnd 8: Ch 4 (counts as tr), ch 3, sc in center ch of next ch-5 sp, ch 3, tr in next tr, ch 3, sc in center ch of next ch-5 sp, ch 3 rep 11 times around, sl st to 4th ch of starting ch-4. (48 sts: 12 tr, 12 sc, 24 ch-3 sps)
- Rnd 9: Ch 4 (counts as tr), ch 4, sc in next sc, ch 4, tr in next tr, ch 4, sc in next sc, ch 4 rep 11 times around, sl st to 4th ch of starting ch-4. (48 sts: 12 tr, 12 sc, 24 ch-4 sps)
- Rnd 10: Ch 4 (counts as tr), ch 5, sc in next sc, ch 5, tr in next tr, ch 5, sc in next sc, ch 5 rep 11 times around, sl st to 4th ch of starting ch-4. (48 sts: 12 tr, 12 sc, 24 ch-5 sps)
✅ Checkpoint: Lay the work on a flat surface. The web will begin to show distinct spoke lines radiating out from the center spiral.
- Rnd 11: Ch 4 (counts as tr), ch 6, sc in next sc, ch 6, tr in next tr, ch 6, sc in next sc, ch 6 rep 11 times around, sl st to 4th ch of starting ch-4. (48 sts: 12 tr, 12 sc, 24 ch-6 sps)
- Rnd 12: Ch 4 (counts as tr), ch 7, sc in next sc, ch 7, tr in next tr, ch 7, sc in next sc, ch 7 rep 11 times around, sl st to 4th ch of starting ch-4. (48 sts: 12 tr, 12 sc, 24 ch-7 sps)
- Rnd 13: Ch 4 (counts as tr), ch 8, sc in next sc, ch 8, tr in next tr, ch 8, sc in next sc, ch 8 rep 11 times around, sl st to 4th ch of starting ch-4. (48 sts: 12 tr, 12 sc, 24 ch-8 sps)
- Rnd 14: Ch 4 (counts as tr), ch 9, sc in next sc, ch 9, tr in next tr, ch 9, sc in next sc, ch 9 rep 11 times around, sl st to 4th ch of starting ch-4. (48 sts: 12 tr, 12 sc, 24 ch-9 sps)
- Rnd 15: Ch 4 (counts as tr), ch 10, sc in next sc, ch 10, tr in next tr, ch 10, sc in next sc, ch 10 rep 11 times around, sl st to 4th ch of starting ch-4. (48 sts: 12 tr, 12 sc, 24 ch-10 sps)
Section 3: Pointed Web Border with Picots
- Rnd 16: (3 sc, ch-3 picot, 3 sc) in next ch-10 sp, (1 sc, ch-4 peak picot, 1 sc) in top of next tr, (3 sc, ch-3 picot, 3 sc) in next ch-10 sp, sl st in next sc rep 12 times around, sl st to starting sc. (216 sts: 168 sc, 24 side picots, 12 peak picots, 12 sl st)
Fasten off yarn, leaving a 6-inch (15 cm) tail for weaving.
Assembly & Finishing
- Weave in Ends: Thread the starting center tail through a tapestry needle and weave it through the stitches of Round 1 in a circle, pulling firmly to close the magic ring tight. Weave the final outer tail securely along the back of the border stitches.
- Wet Blocking (Essential Step):
- Submerge the spiderweb topper in warm water with a drop of gentle wool wash or soap for 15 minutes.
- Gently squeeze out excess water in a towel without wringing.
- Lay the wet topper onto your blocking mat.
- Pin the center spiral flat first.
- Stretch out each of the 12 peak picots (the ch-4 picots on top of the tr spokes) straight outward and pin securely using stainless steel T-pins.
- Pin each intermediate side picot (ch-3 picots) outward slightly to open up the scalloped web arches evenly.
- Allow to dry completely (24 hours) before removing pins.
Size Customization Tips
- Smaller Doily (about 11 inches / 28 cm): Stop after Round 11, then jump directly to the border round (Round 16) by working into the ch-6 spaces instead of ch-10 spaces.
- Larger Centerpiece (about 1 in / 2.5 cm wider per extra round, e.g. 20 in / 51 cm with 4 extra rounds): Continue increasing the chain arch sizes by adding 1 chain per space per round (e.g., Round 16 with ch-11 spaces, Round 17 with ch-12 spaces), then apply the border round into the final chain spaces. Each additional round adds approximately 1.5 in (3.8 cm) to the overall diameter.
Care Instructions
- Washing: Hand wash in cold water using mild detergent.
- Drying: Do not tumble dry. Lay flat on a towel and re-pin outer points if needed.
- Ironing: Light steam ironing on cotton setting through a damp press cloth can refresh the edges between seasonal uses.
FAQ
Can I use acrylic yarn instead of cotton thread?
While acrylic yarn can be used, cotton or cotton-blend thread is strongly recommended. Acrylic yarn stretch memory causes the delicate web points to pull rounded over time, whereas wet-blocked cotton maintains sharp, crisp spiderweb points.
My spiderweb is ruffling in the middle. How do I fix it?
If your center is bowl-shaped or wavy, your tension on chain spaces may be too tight or too loose. Wet blocking will resolve slight ruffling, but if severe, drop down half a hook size (e.g., to a 2.5 mm hook) for the center spiral rounds.
Is this table topper safe for hot dish trivets?
100% cotton thread toppers can handle warm tea lights, candle jars, and serving dishes, but because of the open lace mesh structure, use an underlying heat-safe mat if setting heavy boiling cookware directly on top.
Happy Crocheting!
You now have a magnificent, lacy spiderweb table topper ready to grace your Halloween decor! Save this pin to your holiday craft board on Pinterest so you can make it again in white, silver, or bright orange. Leave a comment below with your favorite color choices and table setups!
📄 Your free PDF pattern