










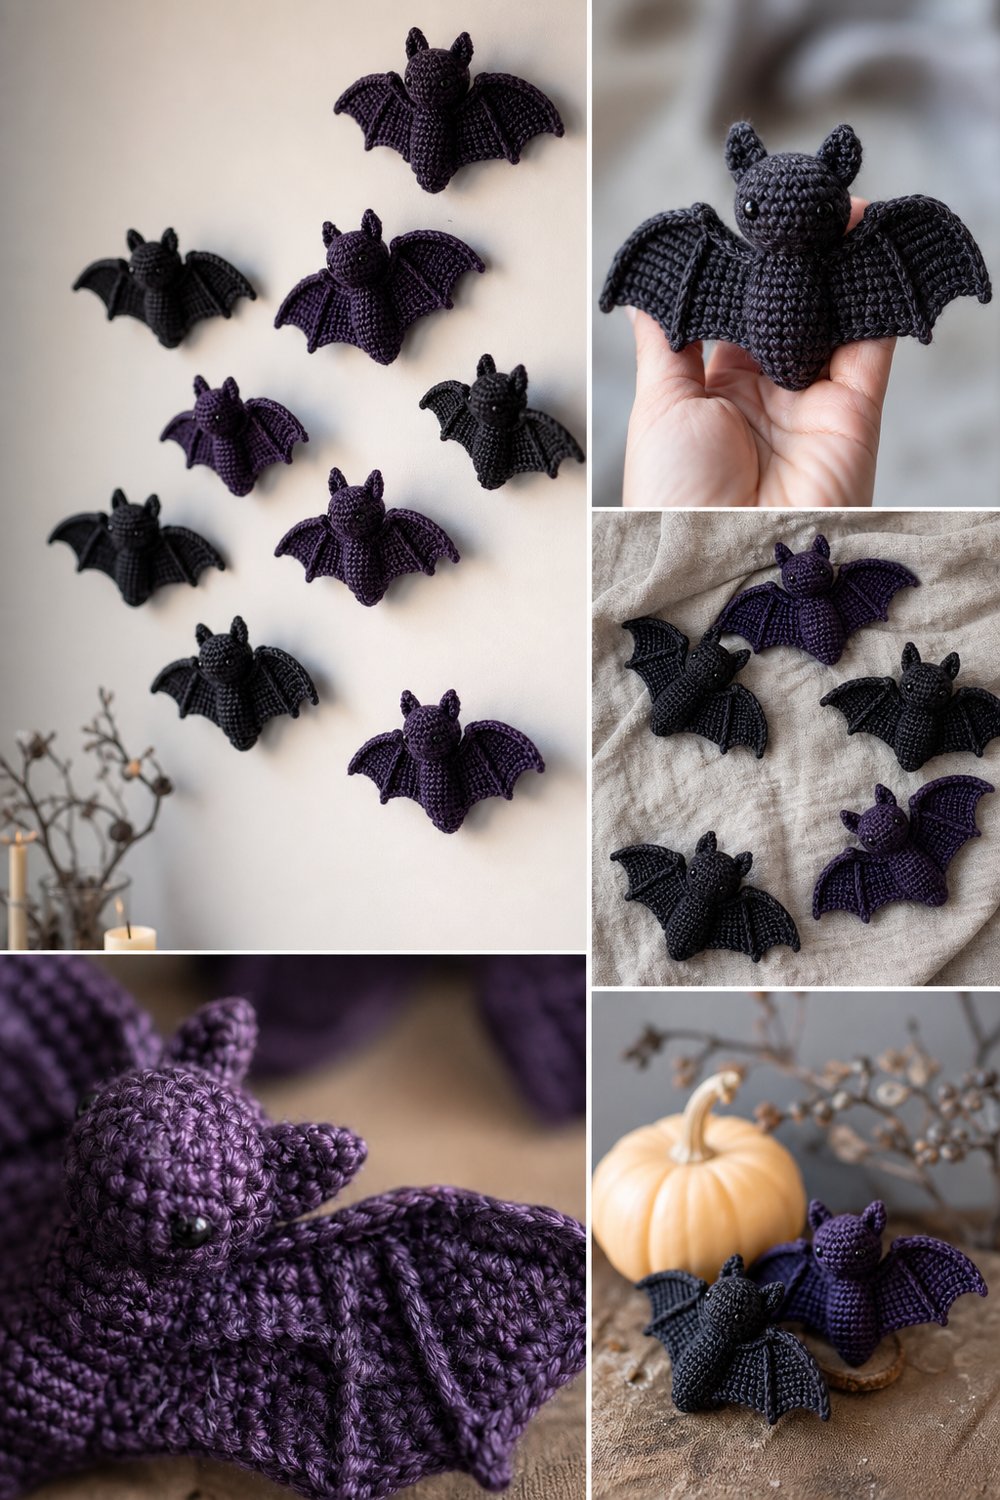
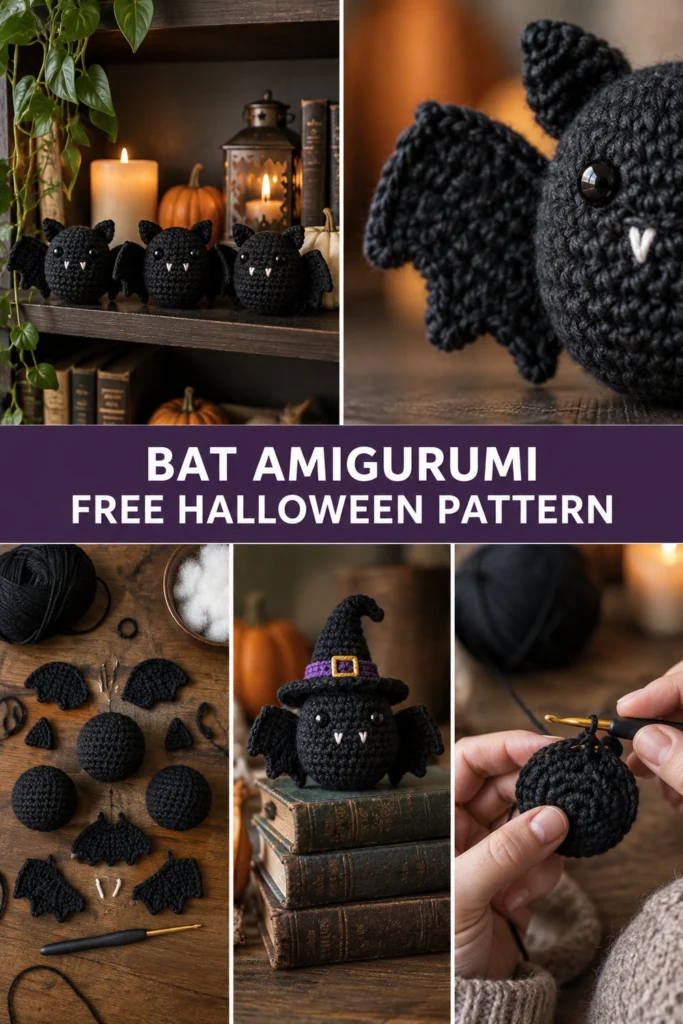
These chubby little bats are ready to perch on your Halloween shelf, dangle from your mantel, or sit among your spooky pumpkins. With simple round construction and neat embroidered fangs, they work up in just a single evening using scrap yarn from your stash.
Quick Facts
- Skill level: Intermediate
- Finished size: 3.5 inches (9 cm) tall, 6.5 inches (16.5 cm) wide with wings
- Yarn: Sport or DK weight cotton or acrylic scrap yarn in black (approx. 40 yards / 36 meters per bat)
- Hook: US C/2 (2.75 mm) crochet hook
- Stitches used: ch, sc, sl st, inc, dec, blo
- Time to make: 2 to 3 hours per bat
Size customization tips are included further down the page.
What Makes This Crochet Bat Amigurumi Special
Working the round bodies in continuous spiral single crochet rows creates a firm, even texture that keeps the polyester stuffing locked securely inside without poking out. The wings are worked flat with scalloped edges that mimic bat anatomy, then stitched securely to the sides of the body. Embroidered white yarn fangs give them an unmistakable vampire grin without the need for stiff felt or glue.
Skill Level
- Working in the round (spiral rounds)
- Basic increasing and decreasing
- Flat row crocheting with simple shaping
- Basic amigurumi assembly and embroidery
You do not need to be an expert to make these; if you know basic single crochet and how to count rounds, you will breeze right through this pattern!
Finished Measurements
- Height: 3.5 inches (9 cm)
- Width (wingspan): 6.5 inches (16.5 cm)
- Body Diameter: 2.5 inches (6 cm)
Materials You Will Need
| Material | Description | Amount |
|---|---|---|
| Yarn (Color A) | Black sport or DK weight yarn | 40 yds / 36 m |
| Yarn (Color B) | White scrap yarn for fangs | 1 yd / 1 m |
| Crochet Hook | US C/2 (2.75 mm) hook | 1 hook |
| Safety Eyes | 8 mm black plastic safety eyes | 2 eyes per bat |
| Stuffing | Polyfill fiber stuffing | 1 small handful |
| Notions | Yarn needle, stitch marker, scissors | As needed |
Yarn Suggestions
| Yarn Line | Weight | Skein Yardage | Notes |
| — | — | — |
| Schachenmayr Catania | Sport (2) | 137 yds (125 m) | Crisp stitch definition, ideal for amigurumi |
| Premier Yarns Cotton Fair | DK (3) | 317 yds (290 m) | Soft blend with wonderful structure |
| Patons Classic Wool DK | DK (3) | 126 yds (115 m) | Gives a slightly fuzzy, classic bat texture |
⚠️ Note: Avoid extremely fluffy novelty yarns for your first bat, as they make it difficult to see your stitches and count your rounds properly. Save the novelty fur yarns for experienced makers!
Gauge
- Amigurumi Gauge: Rnds 1 to 6 of the flat circle = 1.5 inches (3.8 cm) across using a 2.75 mm hook. Gauge is not overly critical for amigurumi, but keep your tension tight so the stuffing does not show through the stitches.
Abbreviations
- ch – chain
- sc – single crochet
- sl st – slip stitch
- inc – single crochet increase (2 sc in same stitch)
- dec – invisible decrease (insert hook into front loops of next 2 stitches, yo, pull through, yo, pull through two loops)
- blo – back loop only
- st(s) – stitch(es)
- rnd(s) – round(s)
- row(s) – row(s)
- [ ] / ( ) – repeat instructions as directed
- yo – yarn over
UK translation note: UK terms use dc for sc, htr for hdc, and tr for dc. This pattern is written in standard US terminology.
Special Stitches Explained
- Magic Ring: Wrap yarn around your fingers to form a loop, insert hook into loop, pull up a loop, ch 1, and work the first round of stitches directly into the ring.
- Invisible Decrease (dec): Insert the hook into the front loop only of the first stitch, then immediately insert the hook into the front loop only of the second stitch. Yarn over and pull through both front loops, yarn over and pull through remaining two loops on hook.
Pattern Instructions
Pattern Notes
- The body is worked in continuous spiral rounds without joining. Use a stitch marker to keep track of the first stitch of each round.
- Make 3 bats for a complete colony shelf sitter trio!
Section 1: Body
Rnd 1: With Black, start 6 sc in a magic ring (6 sc)
Rnd 2: [inc] x 6 (12 sc)
Rnd 3: [1 sc, inc] x 6 (18 sc)
Rnd 4: [2 sc, inc] x 6 (24 sc)
Rnd 5: [3 sc, inc] x 6 (30 sc)
Rnd 6: [4 sc, inc] x 6 (36 sc)
Rnds 7 to 13: sc in each st around (36 sc)
💡 Designer Tip: Insert your 8 mm safety eyes between Rnds 10 and 11, about 5 stitches apart, and secure the backs before you close up the body.
Rnd 14: [4 sc, dec] x 6 (30 sc)
Rnd 15: [3 sc, dec] x 6 (24 sc)
Rnd 16: [2 sc, dec] x 6 (18 sc)
Stuff the body firmly with polyfill fiber stuffing.
Rnd 17: [1 sc, dec] x 6 (12 sc)
Rnd 18: [dec] x 6 (6 sc)
Fasten off, leaving a 6-inch (15 cm) tail. Thread tail through the front loops of the remaining 6 stitches and pull tight to close the opening. Weave in the end.
Section 2: Wings (Make 2 per bat)
Wings are worked in rows. Ch 1 at the beginning of a row does not count as a stitch.
Row 1: Ch 13, starting in 2nd ch from hook, sc in next 12 ch (12 sc), turn.
Row 2: Ch 1, sl st in first 2 sts, [sc in next st, hdc in next st, 2 dc in next st, hdc in next st, sc in next st] across the remaining stitches to create the scalloped wing edge.
Fasten off, leaving an 8-inch (20 cm) tail for sewing.
Section 3: Ears (Make 2 per bat)
Rnd 1: With Black, start 4 sc in a magic ring (4 sc)
Rnd 2: [inc, 1 sc] x 2 (6 sc)
Rnd 3: [inc, 2 sc] x 2 (8 sc)
Rnd 4: [inc, 3 sc] x 2 (10 sc)
Fasten off, leaving a 6-inch (15 cm) tail for sewing. Do not stuff the ears; flatten them before attaching.
Assembly & Finishing
- Ears: Sew the flattened ears to the top of the head between Rnds 3 and 7, angled slightly outward.
- Wings: Pin the straight edge of each wing to the sides of the body (spanning Rnds 7 through 13). Secure firmly with the yarn tails.
- Fangs: Using a length of white yarn on your yarn needle, embroider two small ‘V’ shapes centered just below the safety eyes for the vampire fangs. Tie off securely inside the body.
✅ Checkpoint: Check that your bat sits flat on a flat surface. If the bottom rounds bunched up, push a bit of stuffing toward the base to flatten the lower curve.
Size Customization Tips
To make a larger shelf sitter bat, you can switch to a bulky weight yarn and a 4.5 mm crochet hook, continuing your increases up to [5 sc, inc] x 6 (42 sc) and adding two extra straight rounds before decreasing. Each extra increase round adds roughly 0.75 inches (2 cm) to the total body diameter.
Care Instructions
Spot clean your crochet bat with a damp cloth and mild soap if it gathers dust on your shelf. Do not submerge in water or machine wash, as this can warp the safety eyes and displace the inner polyfill stuffing.
FAQ
Can I use safety eyes for young children?
No. If you plan to give this crochet bat to a child under the age of 3, embroider the eyes using black embroidery floss instead of using plastic safety eyes to eliminate choking hazards.
How do I make the wings stay stiff?
You can apply a thin coat of fabric stiffener to the back of the finished wings and let them dry flat on wax paper, or insert a thin piece of pipe cleaner along the top edge of the wing before sewing.
What is the best way to stuff amigurumi evenly?
Add small pinches of stuffing at a time rather than one large clump. Use the blunt end of your crochet hook or a chopstick to push stuffing firmly into the outer edges of the head and body.
Happy Crocheting!
I hope you love stitching up your brand new colony of spooky shelf sitter bats! Be sure to save this free crochet pattern on Pinterest, and leave a comment below letting me know what colors you decided to use for your Halloween decor.
📄 Your free PDF pattern