







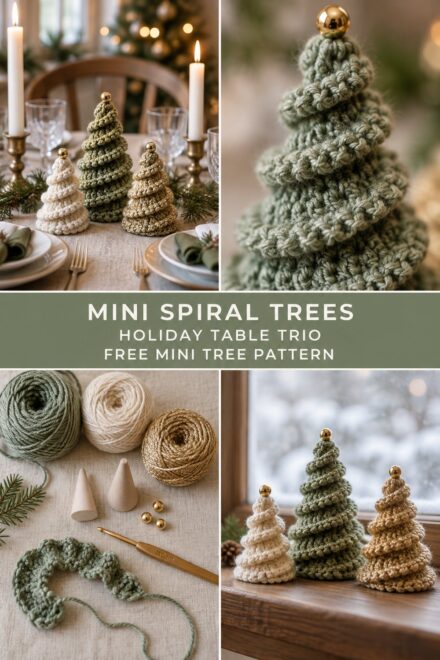


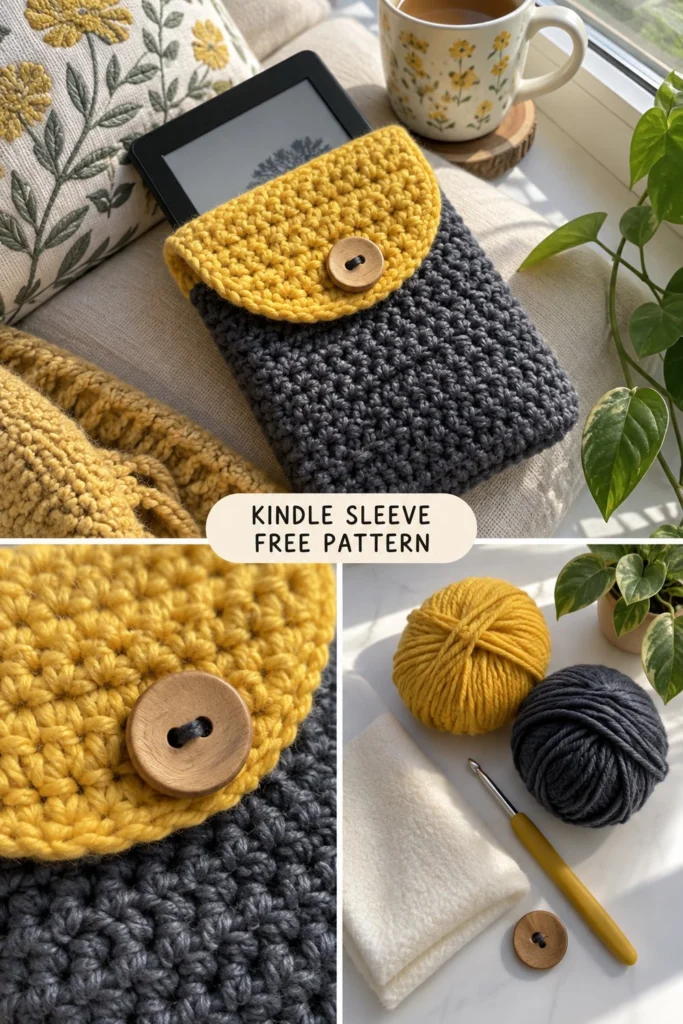
Protect your e-reader or favourite paperback in a soft padded sleeve. The pouch is worked in thick half double crochet with a fleece lining inside, a rounded flap and one big wooden button, and it fits most Kindles and standard books. Sunshine yellow and charcoal look cheerful in a tote bag. About one hour from start to finish, so it is easy crochet for a last-minute gift.
1-Hour Crochet Kindle Sleeve – Free Padded Book Sleeve Pattern
Quick Facts
- Skill level: Easy Beginner
- Finished size: Fits standard Kindle Paperwhite, Oasis, or standard paperback (approx. 5.5 in / 14 cm wide by 7.5 in / 19 cm tall)
- Yarn: Bulky weight (Weight 5) yarn in Charcoal and Sunshine Yellow
- Hook: 6.5 mm (US K/10.5) crochet hook
- Stitches used: ch, sl st, sc, hdc, hdc2tog, BLO
- Time to make: Approximately 1 hour
Size tips and customization options are included further down in the guide.
What Makes This Kindle Sleeve Special
This design relies on sturdy half double crochet stitches worked continuously around a foundation chain to create a dense, protective fabric that cushions your device without needing bulky padding layers. The attached fleece lining is hand-stitched inside to prevent screen scratches. The rounded flap is shaped smoothly using simple decreases, featuring a custom chain-loop buttonhole that secures securely over a large wooden toggle button.
Skill Level
- Basic understanding of foundation chains and working in the round
- Familiarity with half double crochet and simple decreases
- Ability to sew a basic fabric lining by hand or machine
- Reassurance line: If you can work a half double crochet, you can easily complete this project in an afternoon!
Finished Measurements
| Measurement | Inches | Centimeters |
|---|---|---|
| Width (Flat) | 5.5 in | 14 cm |
| Height (Pouch Body) | 7.5 in | 19 cm |
| Total Length (Including Flap) | 9.5 in | 24 cm |
Materials You Will Need
| Material | Color | Details / Weight | Quantity |
|---|---|---|---|
| Yarn A | Charcoal | Bulky (Weight 5) Acrylic/Wool blend | 80 yards / 73 meters |
| Yarn B | Sunshine Yellow | Bulky (Weight 5) Acrylic/Wool blend | 35 yards / 32 meters |
| Crochet Hook | – | 6.5 mm (US K/10.5) | 1 hook |
| Button | Natural Wood | 1.25 in / 32 mm wide, 2-hole toggle | 1 button |
| Lining Fabric | White | Soft fleece fabric | 1 piece (12 x 8 in / 30 x 20 cm) |
| Notions | Matching thread | Tapestry needle, scissors, sewing needle, locking stitch markers | As needed |
Yarn Suggestions
| Yarn Line | Weight | Skein Yardage | Notes |
|---|---|---|---|
| Lion Brand Hue + Me | Bulky (5) | 137 yards / 125 m | Excellent stitch definition and sturdy texture |
| Drops Snow | Bulky (5) | 55 yards / 50 m | 100% wool, very plush and protective |
| Bernat Softee Chunky | Bulky (5) | 108 yards / 99 m | Budget-friendly acrylic, easy to wash |
⚠️ Note: Avoid novelty fuzzy yarns (like eyelash yarn) for this project, as they make stitch counting difficult and will not provide the structured protection your device needs.
Gauge
- 11 hdc x 9 rounds = 4 in / 10 cm square using a 6.5 mm hook with bulky yarn.
Abbreviations (US Terminology)
| Abbreviation | Meaning |
|---|---|
| ch | Chain |
| sl st | Slip stitch |
| sc | Single crochet |
| hdc | Half double crochet |
| hdc2tog | Half double crochet 2 together (decrease) |
| BLO | Back loop only |
| st(s) | Stitch(es) |
| rep | Repeat |
| Rnd(s) | Round(s) |
| Row(s) | Row(s) |
UK: sc = dc, hdc = htr, dc = tr.
Special Stitches Explained
- Half Double Crochet 2 Together (hdc2tog): Yarn over, insert hook into next st, yarn over and pull up a loop (3 loops on hook). Yarn over, insert hook into following st, yarn over and pull up a loop (5 loops on hook). Yarn over and draw through all 5 loops on the hook.
- Back Loop Only (BLO): Working only into the rear loop of the V-shape of the stitch from the previous round, leaving the front loop exposed.
Pattern Instructions
Pattern Notes
- The pouch body is worked in continuous rounds without joining, starting from a foundation chain. Use a stitch marker to keep track of the first stitch of each round.
- The flap is worked flat in rows directly off the back edge of the pouch opening.
- Turning chains do not count as stitches unless explicitly stated.
Section 1: Pouch Body (Charcoal, make 1)
Ch 16.
Rnd 1: Work 2 hdc in 2nd ch from hook, hdc in next 13 chs, 4 hdc in last ch. Working along the opposite side of the foundation chain, hdc in next 13 chs, 2 hdc in the very first ch space (34 hdc).
Rnd 2: 2 hdc in next st, hdc in next 15 sts, 2 hdc in next st rep once (38 hdc).
Rnd 3: hdc in next st, 2 hdc in next st, hdc in next 15 sts, 2 hdc in next st, hdc in next st rep once (42 hdc).
Rnds 4 to 20: hdc in each st around (42 hdc).
Fasten off Yarn A with an invisible join and weave in the end.
✅ Checkpoint: Your charcoal pouch should measure about 5.5 inches wide and 7.5 inches tall, standing firmly on its own.
With the pouch facing you, locate the back 21 stitches of the top opening (leaving the front 21 stitches unworked for the pouch opening). Attach Yarn B to the top right back corner st.
Row 1: Ch 2 (does not count as st here and throughout), hdc in same st as join, hdc in next 20 sts, turn (21 hdc).
Row 2: Ch 2, hdc2tog, hdc in next 17 sts, hdc2tog, turn (19 hdc).
Row 3: Ch 2, hdc2tog, hdc in next 15 sts, hdc2tog, turn (17 hdc).
Row 4: Ch 2, hdc2tog, hdc in next 5 sts, ch 5, skip 5 sts (buttonhole created), hdc in next 2 sts, hdc2tog, turn (9 hdc, plus 5 chs).
Row 5: Ch 2, hdc2tog, hdc in next 2 sts, work 5 hdc into the ch-5 space, hdc in next 2 sts, hdc2tog, turn (13 hdc).
Row 6: Ch 2, hdc2tog, hdc in next 9 sts, hdc2tog, turn (11 hdc).
Row 7: Ch 2, hdc2tog, hdc in next 7 sts, hdc2tog, turn (9 hdc).
Fasten off Yarn B, leaving a 10 in / 25 cm tail for securing edges if needed, and weave in remaining ends.
Assembly & Lining
- Button Placement: Fold the sunshine yellow flap down over the front of the charcoal pouch. Mark the exact spot on the front body where the centre of the Row 4 buttonhole rests. Sew the wooden button securely to the front body at this marked spot using matching thread.
- Fleece Lining: Cut a piece of white fleece measuring 11 inches wide by 8 inches tall. Fold it in half matching the 5.5 in width, and sew the two side seams using a running stitch or sewing machine to create an interior pouch.
- Insert Lining: Slip the fleece lining inside the crochet charcoal pouch. Fold the top raw edge of the fleece down by 0.5 in and whipstitch it by hand securely to the inside rim of the crochet stitches around Rnd 20.
Finishing
- Inspect the entire sleeve for stray yarn ends and trim them close to the work.
- Lightly steam block the yellow flap so it curves smoothly over the front button without curling at the corners.
Size Customization Tips
- For a Kindle Paperwhite (Larger / Older models): Add 2 extra chains to your foundation chain and work 2 additional vertical rounds to the body.
- For a Paperback Book: Increase the foundation chain length to match the book width plus 1 inch of ease, and work vertical rounds until the pouch matches the book height.
Care Instructions
- Spot clean gently with cold water and mild soap as needed.
- Do not submerge completely in hot water to avoid shrinkage of the fleece lining and wool blend yarn.
- Lay flat in the shade to dry completely before storing your device inside.
FAQ
Can I use cotton yarn instead of acrylic/wool?
Yes! Cotton yarn (like Lily Sugar’n Cream) works wonderfully and gives the sleeve a stiffer, more structured shape, though it will be slightly heavier.
How do I adjust the pattern for a thicker book?
To accommodate a thicker paperback or a device in a heavy-duty case, add 4 extra stitches to your foundation chain in Rnd 1, and make sure to increase the top flap width by matching your new stitch count accordingly.
Is this safe for children’s items?
This project features a large wooden button and a fleece lining. If making this for a toddler or young child, omit the button and buttonhole closure entirely, or replace the wooden button with securely embroidered French knot eyes or secure felt closures to prevent choking hazards.
Happy Crocheting!
I hope you love making and using your new Kindle sleeve! Save this pattern to your Pinterest board for later, and leave a comment below letting me know what colour combination you chose for your book pouch.
📄 Your free PDF pattern