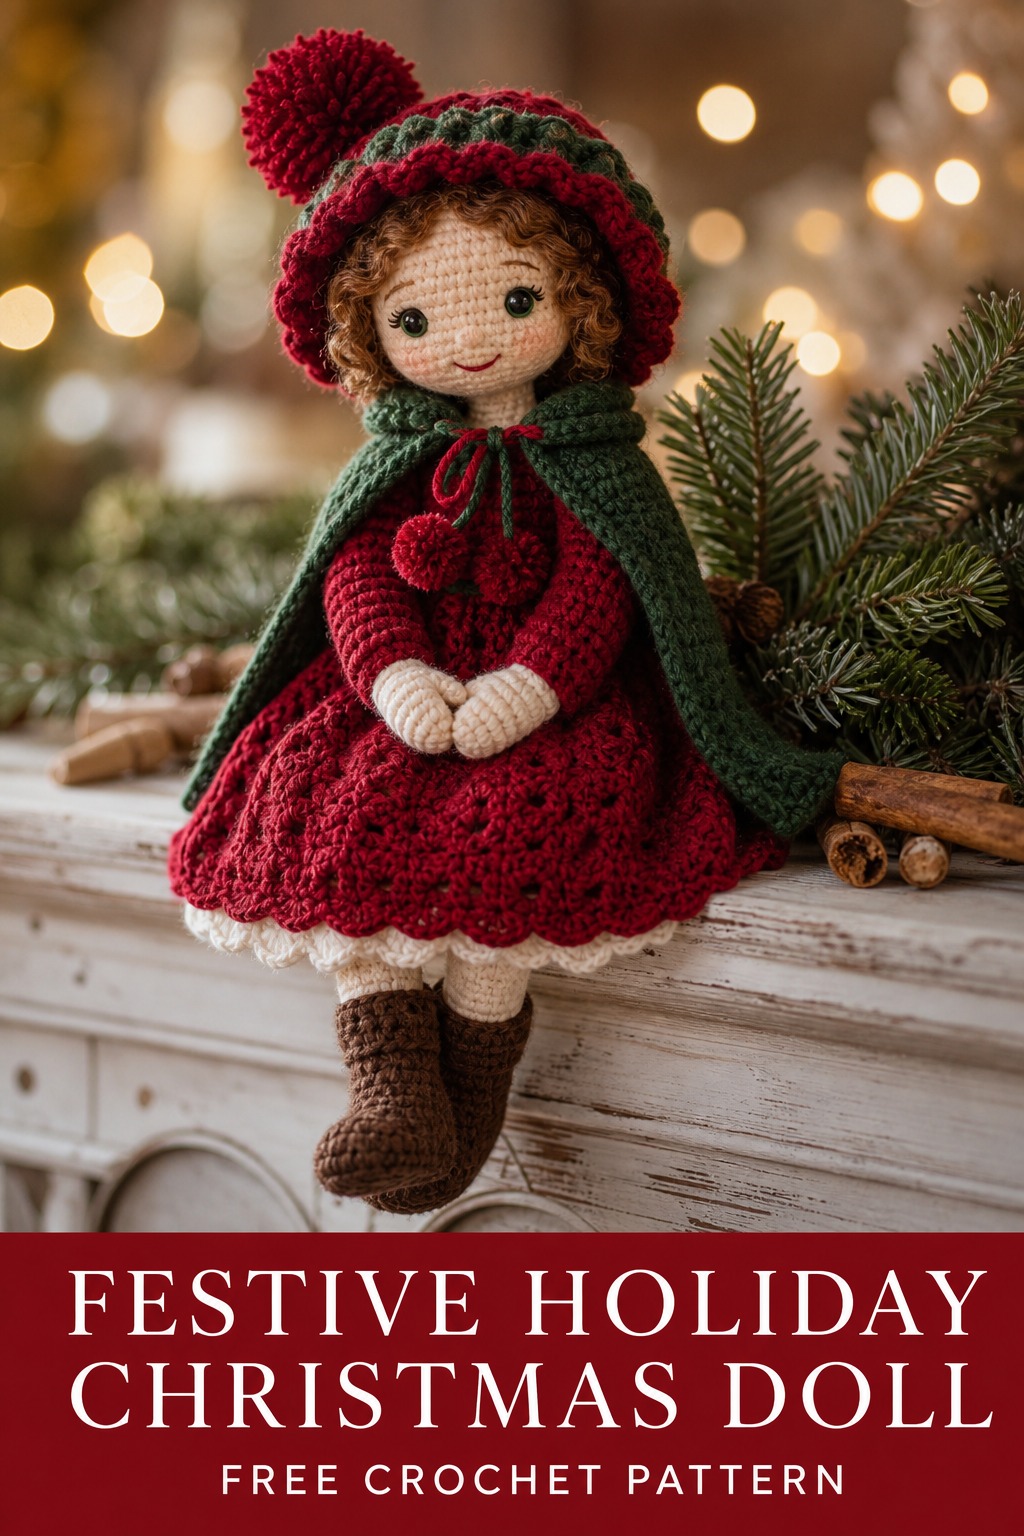

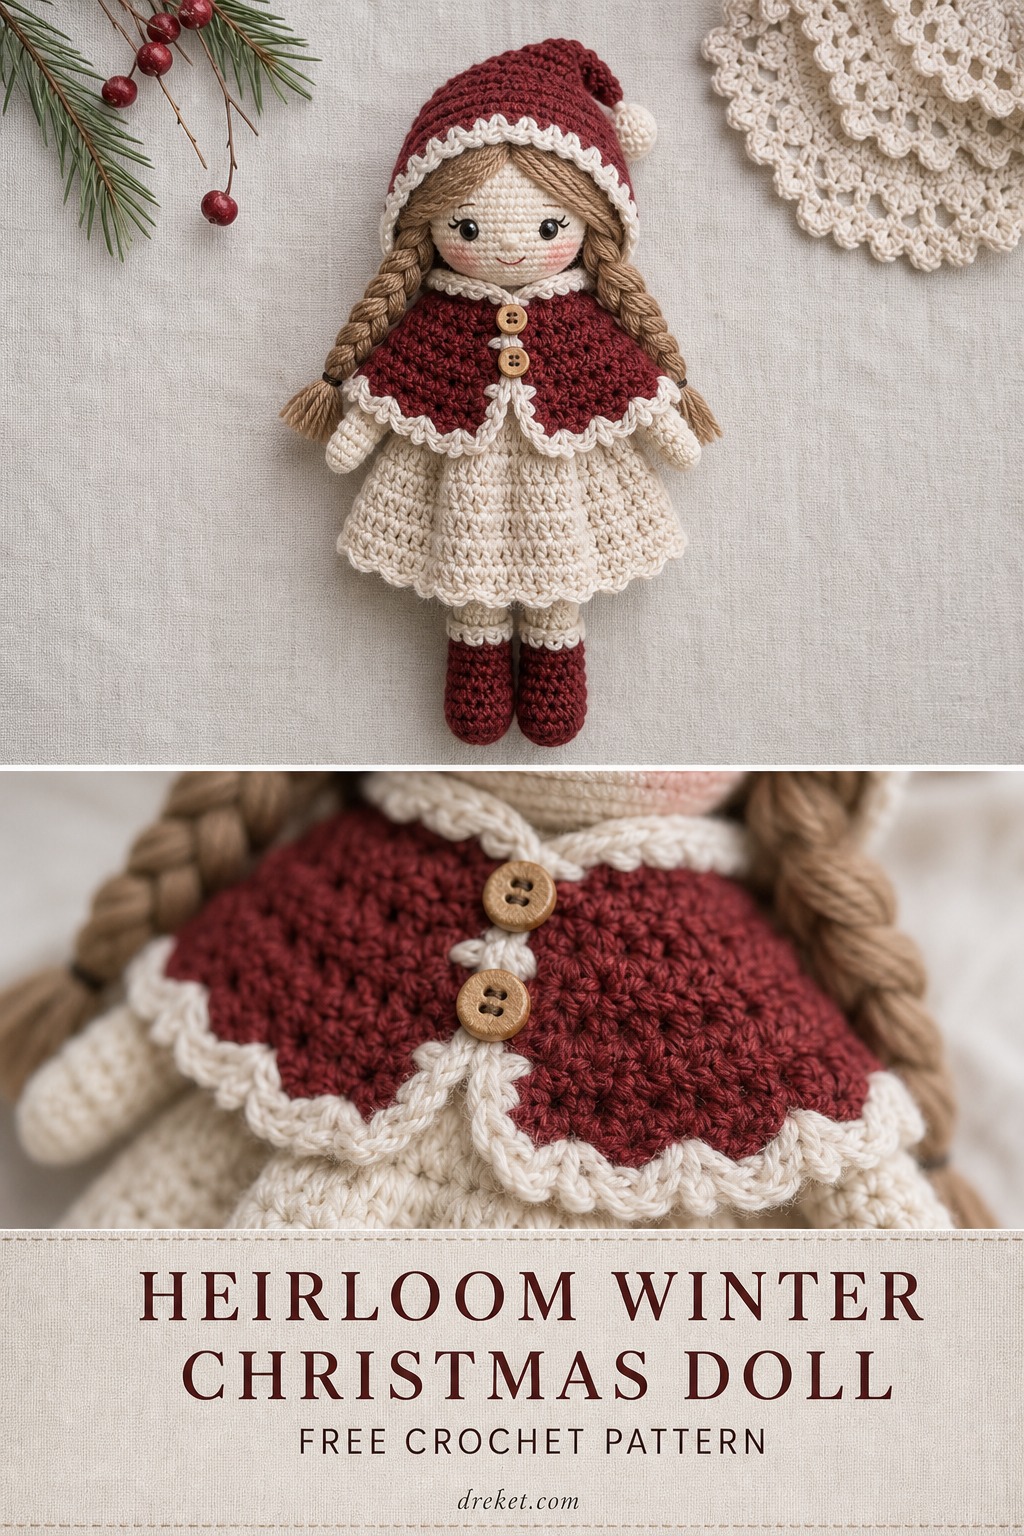
Heirloom Winter Christmas Doll Free Crochet Pattern
Imagine the gentle glow of fairy lights reflecting off a beloved handmade treasure, a timeless doll crafted with love to become a cherished part of your holiday traditions. This exquisite Heirloom Winter Christmas Doll is designed to evoke nostalgia, bringing warmth and wonder to your festive season.
Heirloom Winter Christmas Doll Free Crochet Pattern
Quick Facts: This enchanting doll utilizes fundamental crochet stitches like single crochet and half double crochet, accented with elegant shell stitches for its charming capelet. Designed to be a heartwarming display piece, it measures approximately 10 inches (25.5 cm) tall, making it a perfect size for mantelpiece decor or a treasured gift. With an estimated completion time of 15-20 hours, this project is ideal for creating a truly special, handmade present that will be adored for years to come.
Want to make a bigger or smaller doll? Sizing customization tips are included later in the pattern!
What Makes This Heirloom Winter Christmas Doll Special
The Heirloom Winter Christmas Doll is a celebration of classic crochet techniques and delicate details. Its primary construction utilizes amigurumi-style shaping for the head and body, worked in continuous rounds to create a smooth, seamless silhouette. The distinctive braided yarn hair, made from multiple strands of yarn, gives her a soft, touchable texture that feels artisanal and evokes a sense of handmade care. Her expressive embroidered facial details add personality without being overly elaborate, focusing on gentle charm. The real highlight, however, is her removable scalloped capelet. This garment is worked in rows using the “shell stitch” to create a beautiful, undulating edge, reminiscent of delicate lace. Adorned with tiny wooden buttons, the capelet perfectly encapsulates the “heirloom” feel, adding a touch of elegance and old-world charm that sets this doll apart. The overall design results in a classic, gracefully posed doll that embodies the spirit of winter holiday tradition.
Skill Level
Intermediate
This pattern is best suited for crocheters who are comfortable with:
* Working in the round (continuous and joined)
* Basic amigurumi shaping (increases and decreases)
* Reading written crochet patterns
* Basic embroidery stitches (straight stitch, French knot)
* Attaching small buttons
* Identifying front and back loops
If you’ve completed a few amigurumi projects and are ready for some charming details, you’ll love making this doll!
Finished Measurements
- Height (from top of head to bottom of dress): Approximately 10 inches (25.5 cm)
- Head Circumference: Approximately 7 inches (18 cm)
- Capelet Length (at longest point): Approximately 2 inches (5 cm)
Materials You Will Need
To bring your Heirloom Winter Christmas Doll to life, you’ll need the following:
| Color | Yarn Weight/Type | Approx. Yardage Needed |
|---|---|---|
| Cream | Worsted Weight (Aran) | 120 yards (110 meters) |
| Light Peach | Worsted Weight (Aran) | 30 yards (27 meters) |
| Light Pink | Worsted Weight (Aran) | 5 yards (5 meters) |
| Brown | Worsted Weight (Aran) | 10 yards (9 meters) |
| Red | Worsted Weight (Aran) | 3 yards (3 meters) |
| Black | Embroidery Floss | 1 yard (1 meter) |
- Crochet Hook: 3.5mm (E/4)
- Stuffing: Polyester fiberfill
- Tapestry Needle: For weaving in ends and embroidery
- Stitch Markers: To mark the beginning of rounds
- Scissors
- Safety Eyes (Optional): 6mm (for practice, but embroidery is used for final look)
- Small Wooden Buttons: 2, approximately 0.5 inches (1.25 cm) diameter
- Optional: Small amount of pipe cleaner or floral wire for arm posing (if desired, not included in base pattern)
Yarn Suggestions
For this doll, I highly recommend using a smooth, durable worsted weight (Aran) yarn that holds its shape well for amigurumi.
- Lion Brand Vanna’s Choice: A classic, affordable acrylic that comes in a wide range of colors and is very durable. (Approx. 170 yds/skein)
- Paintbox Yarns Simply Aran: A super soft, high-quality acrylic that’s lovely to work with and has excellent stitch definition. (Approx. 201 yds/skein)
- Scheepjes Colour Crafter: Another fantastic acrylic option known for its softness and vast color palette. (Approx. 328 yds/skein)
What to Avoid: I’d suggest avoiding super bulky or very fuzzy/textured yarns for this project. They can obscure the delicate facial embroidery and intricate capelet stitches, making the doll look less refined and challenging to work with for these small details.
Gauge
Main Body (single crochet): 20 sc and 20 rows = 4 inches (10 cm)
Capelet (half double crochet): 16 hdc and 12 rows = 4 inches (10 cm)
Please take the time to swatch! Your tension can significantly affect the doll’s size and how the features look. If your gauge is too loose, your doll will be larger and you’ll need more yarn. If it’s too tight, your doll will be smaller.
Abbreviations
- ch: chain
- sc: single crochet
- hdc: half double crochet
- dc: double crochet
- sl st: slip stitch
- st(s): stitch(es)
- inc: increase (2 sc in the same stitch)
- dec: decrease (sc2tog – single crochet 2 stitches together)
- FO: fasten off
- MR: magic ring (or adjustable ring)
- BLO: back loop only
- FLO: front loop only
- […]: Repeat instructions in brackets specified number of times
- (…): Stitch count at the end of the round/row
Special Stitches Explained
1. Magic Ring (MR):
Wrap yarn around two fingers, forming a loop. Insert hook into loop, yarn over, pull up a loop. Ch 1. Sc into the loop the number of times specified. Pull the tail to close the ring tightly.
2. Invisible Decrease (dec):
Insert hook into the front loop only of the first stitch, then into the front loop only of the second stitch. Yarn over, pull through both front loops (2 loops on hook). Yarn over, pull through remaining 2 loops.
3. Shell Stitch (for Capelet):
[2 dc, ch 1, 2 dc] all in the same stitch or space.
Pattern Instructions
Work in continuous rounds for the Head, Body, and Arms unless otherwise specified. Use a stitch marker to mark the beginning of each round.
Section 1: Head (Light Peach Yarn)
- Rnd 1: MR, 6 sc. (6)
- Rnd 2: [inc] 6 times. (12)
- Rnd 3: [sc, inc] 6 times. (18)
- Rnd 4: [2 sc, inc] 6 times. (24)
- Rnd 5: [3 sc, inc] 6 times. (30)
- Rnd 6: [4 sc, inc] 6 times. (36)
- Rnd 7: [5 sc, inc] 6 times. (42)
- Rnd 8: [6 sc, inc] 6 times. (48)
- Rnd 9: [7 sc, inc] 6 times. (54)
- Rnd 10-18: Sc in each st around. (54) (9 rounds)
- Rnd 19: [7 sc, dec] 6 times. (48)
- Rnd 20: [6 sc, dec] 6 times. (42)
- Rnd 21: [5 sc, dec] 6 times. (36)
- Rnd 22: [4 sc, dec] 6 times. (30)
Start stuffing the head firmly. Continue stuffing as you go. - Rnd 23: [3 sc, dec] 6 times. (24)
- Rnd 24: [2 sc, dec] 6 times. (18)
- Checkpoint: Head is stuffed and shaped.
- FO, leaving a long tail for sewing to the body.
Section 2: Body (Cream Yarn)
- Rnd 1: MR, 6 sc. (6)
- Rnd 2: [inc] 6 times. (12)
- Rnd 3: [sc, inc] 6 times. (18)
- Rnd 4: [2 sc, inc] 6 times. (24)
- Rnd 5: [3 sc, inc] 6 times. (30)
- Rnd 6: [4 sc, inc] 6 times. (36)
- Rnd 7: [5 sc, inc] 6 times. (42)
- Rnd 8-15: Sc in each st around. (42) (8 rounds)
- Rnd 16: [5 sc, dec] 6 times. (36)
- Rnd 17-18: Sc in each st around. (36) (2 rounds)
- Rnd 19: [4 sc, dec] 6 times. (30)
- Rnd 20-21: Sc in each st around. (30) (2 rounds)
- Rnd 22: [3 sc, dec] 6 times. (24)
- Rnd 23-24: Sc in each st around. (24) (2 rounds)
Start stuffing the body firmly. Continue stuffing as you go. - Rnd 25: [2 sc, dec] 6 times. (18)
- Rnd 26: Sc in each st around. (18)
- Checkpoint: Body is stuffed and shaped, opening matches head base.
- FO, leaving a long tail for sewing.
Section 3: Arms (Make 2) (Start with Light Peach Yarn)
- Rnd 1: MR, 6 sc. (6)
- Rnd 2: [sc, inc] 3 times. (9)
- Rnd 3-5: Sc in each st around. (9) (3 rounds)
- Change to Cream yarn.
- Rnd 6-17: Sc in each st around. (9) (12 rounds)
Lightly stuff the bottom 2/3 of the arm, leaving the top unstuffed for easier attachment. - Rnd 18: Flatten opening and sc across through both layers. (4 sc)
- Checkpoint: Arms are stuffed and flattened.
- FO, leaving a long tail for sewing.
Section 4: Hair (Brown Yarn)
Cut approximately 60 strands of brown yarn, each about 20 inches (50 cm) long. This will give you plenty for braiding and trimming.
- Using a tapestry needle, insert your hook into a stitch on the doll’s head where you want to place hair.
- Fold one strand of yarn in half, creating a loop.
- Pull the loop through the stitch with your hook.
- Pull the two ends of the yarn through the loop you just created and tighten, creating a lark’s head knot.
- Repeat this process, evenly distributing hair around the head from the crown downwards, leaving space for the face. Ensure the crown is fully covered.
- Once hair is attached, gather the strands on each side of the head and braid them, securing the ends with a small piece of yarn or a tiny rubber band. Trim to desired length.
Section 5: Facial Details (Black Embroidery Floss, Light Pink Yarn)
Using black embroidery floss and a tapestry needle:
1. Eyes: Locate the center of the face. The eyes should be embroidered between Rnd 13 and Rnd 14 of the head, approximately 4-5 stitches apart. Use a straight stitch or two small horizontal stitches for a gentle, closed-eye effect.
2. Mouth: Using Light Pink yarn, embroider a small, soft curve two rounds below the eyes, centered.
Section 6: Capelet (Cream Yarn)
Work in rows, turning at the end of each row.
- Row 1: Ch 27. Hdc in 3rd ch from hook and in each ch across. (25 hdc)
- Row 2: Ch 2 (does not count as st), turn. Hdc in each st across. (25 hdc)
- Row 3: Ch 2 (does not count as st), turn. Hdc in first st, skip 2 sts, [shell st (2 dc, ch 1, 2 dc) in next st, skip 4 sts] 4 times, shell st in next st, skip 2 sts, hdc in last st. (4 shells, 2 hdc)
- Row 4: Ch 2 (does not count as st), turn. Hdc in first hdc, [sc in next 2 dc, ch 1, sc in next 2 dc, sc in ch-1 space] 5 times, hdc in last hdc. (27 sts – 5 ch-1 spaces, 2 hdc, 20 sc)
- Row 5: Ch 2 (does not count as st), turn. Hdc in first hdc, [shell st in next ch-1 space] 5 times, hdc in last hdc. (5 shells, 2 hdc)
- Row 6: Ch 2 (does not count as st), turn. Hdc in first hdc, [sc in next 2 dc, ch 1, sc in next 2 dc, sc in ch-1 space] 5 times, hdc in last hdc. (27 sts – 5 ch-1 spaces, 2 hdc, 20 sc)
- Row 7: Ch 1, turn. Sc in first hdc, 2 sc in each ch-1 space across, sc in last hdc. (12 sc + 2 edge sc = 14 sc)
- Checkpoint: Capelet is shaped with scalloped edge.
- FO, leaving a long tail for sewing buttons.
Section 7: Assembly
- Attach Head to Body: Using the long tail from the head, sew the head securely to the top opening of the body. Ensure the head is centered and sits firmly.
- Attach Arms: Pin the flattened arms to the sides of the body, just below the neck. Using the long tails, sew them securely in place.
- Attach Capelet: Position the capelet around the doll’s neck. Using the long tail, attach the two small wooden buttons to one side of the capelet’s opening, and create corresponding loops on the other side by chaining a few stitches and slip stitching back into the capelet edge. This allows the capelet to be removable.
Size Customization Tips
- To increase the doll’s size: Use a larger hook size (e.g., 4.0mm or 4.5mm) with the same worsted weight yarn. This will result in a doll approximately 1-2 inches (2.5-5 cm) taller per hook size increase. You will need more yarn.
- To decrease the doll’s size: Use a smaller hook size (e.g., 3.0mm or 2.5mm) with a lighter weight yarn (e.g., DK or sport weight). This will result in a doll approximately 1-2 inches (2.5-5 cm) shorter per hook size decrease. You will need less yarn.
- When changing hook or yarn weight, always swatch to ensure your stitches are tight enough to prevent stuffing from showing through.
Care Instructions
To keep your Heirloom Winter Christmas Doll looking her best:
- Spot Clean Only: Use a mild soap and cold water to gently clean any soiled areas. Do not submerge the doll in water.
- Air Dry: Pat dry with a clean towel and allow to air dry completely. Do not put in a dryer.
- Reshape: Gently reshape while drying if needed.
- Avoid Harsh Chemicals: Do not use bleach or harsh detergents.
Heirloom Winter Christmas Doll Free Crochet Pattern
Thank you for choosing my pattern to create this special doll! I hope she brings joy and a touch of handmade magic to your home this holiday season. I would absolutely love to see your finished creations! Please share your Heirloom Winter Christmas Doll on social media and tag me @dreket. Don’t forget to save this pattern to your Pinterest board for future reference, and leave a comment below to let me know what you think! Happy crocheting!